Salads & Cold Dishes
Salt-and-Sugar Pickled Crispy Green Plums
a refreshing traditional preserved snack; green plums are associated with digestive support
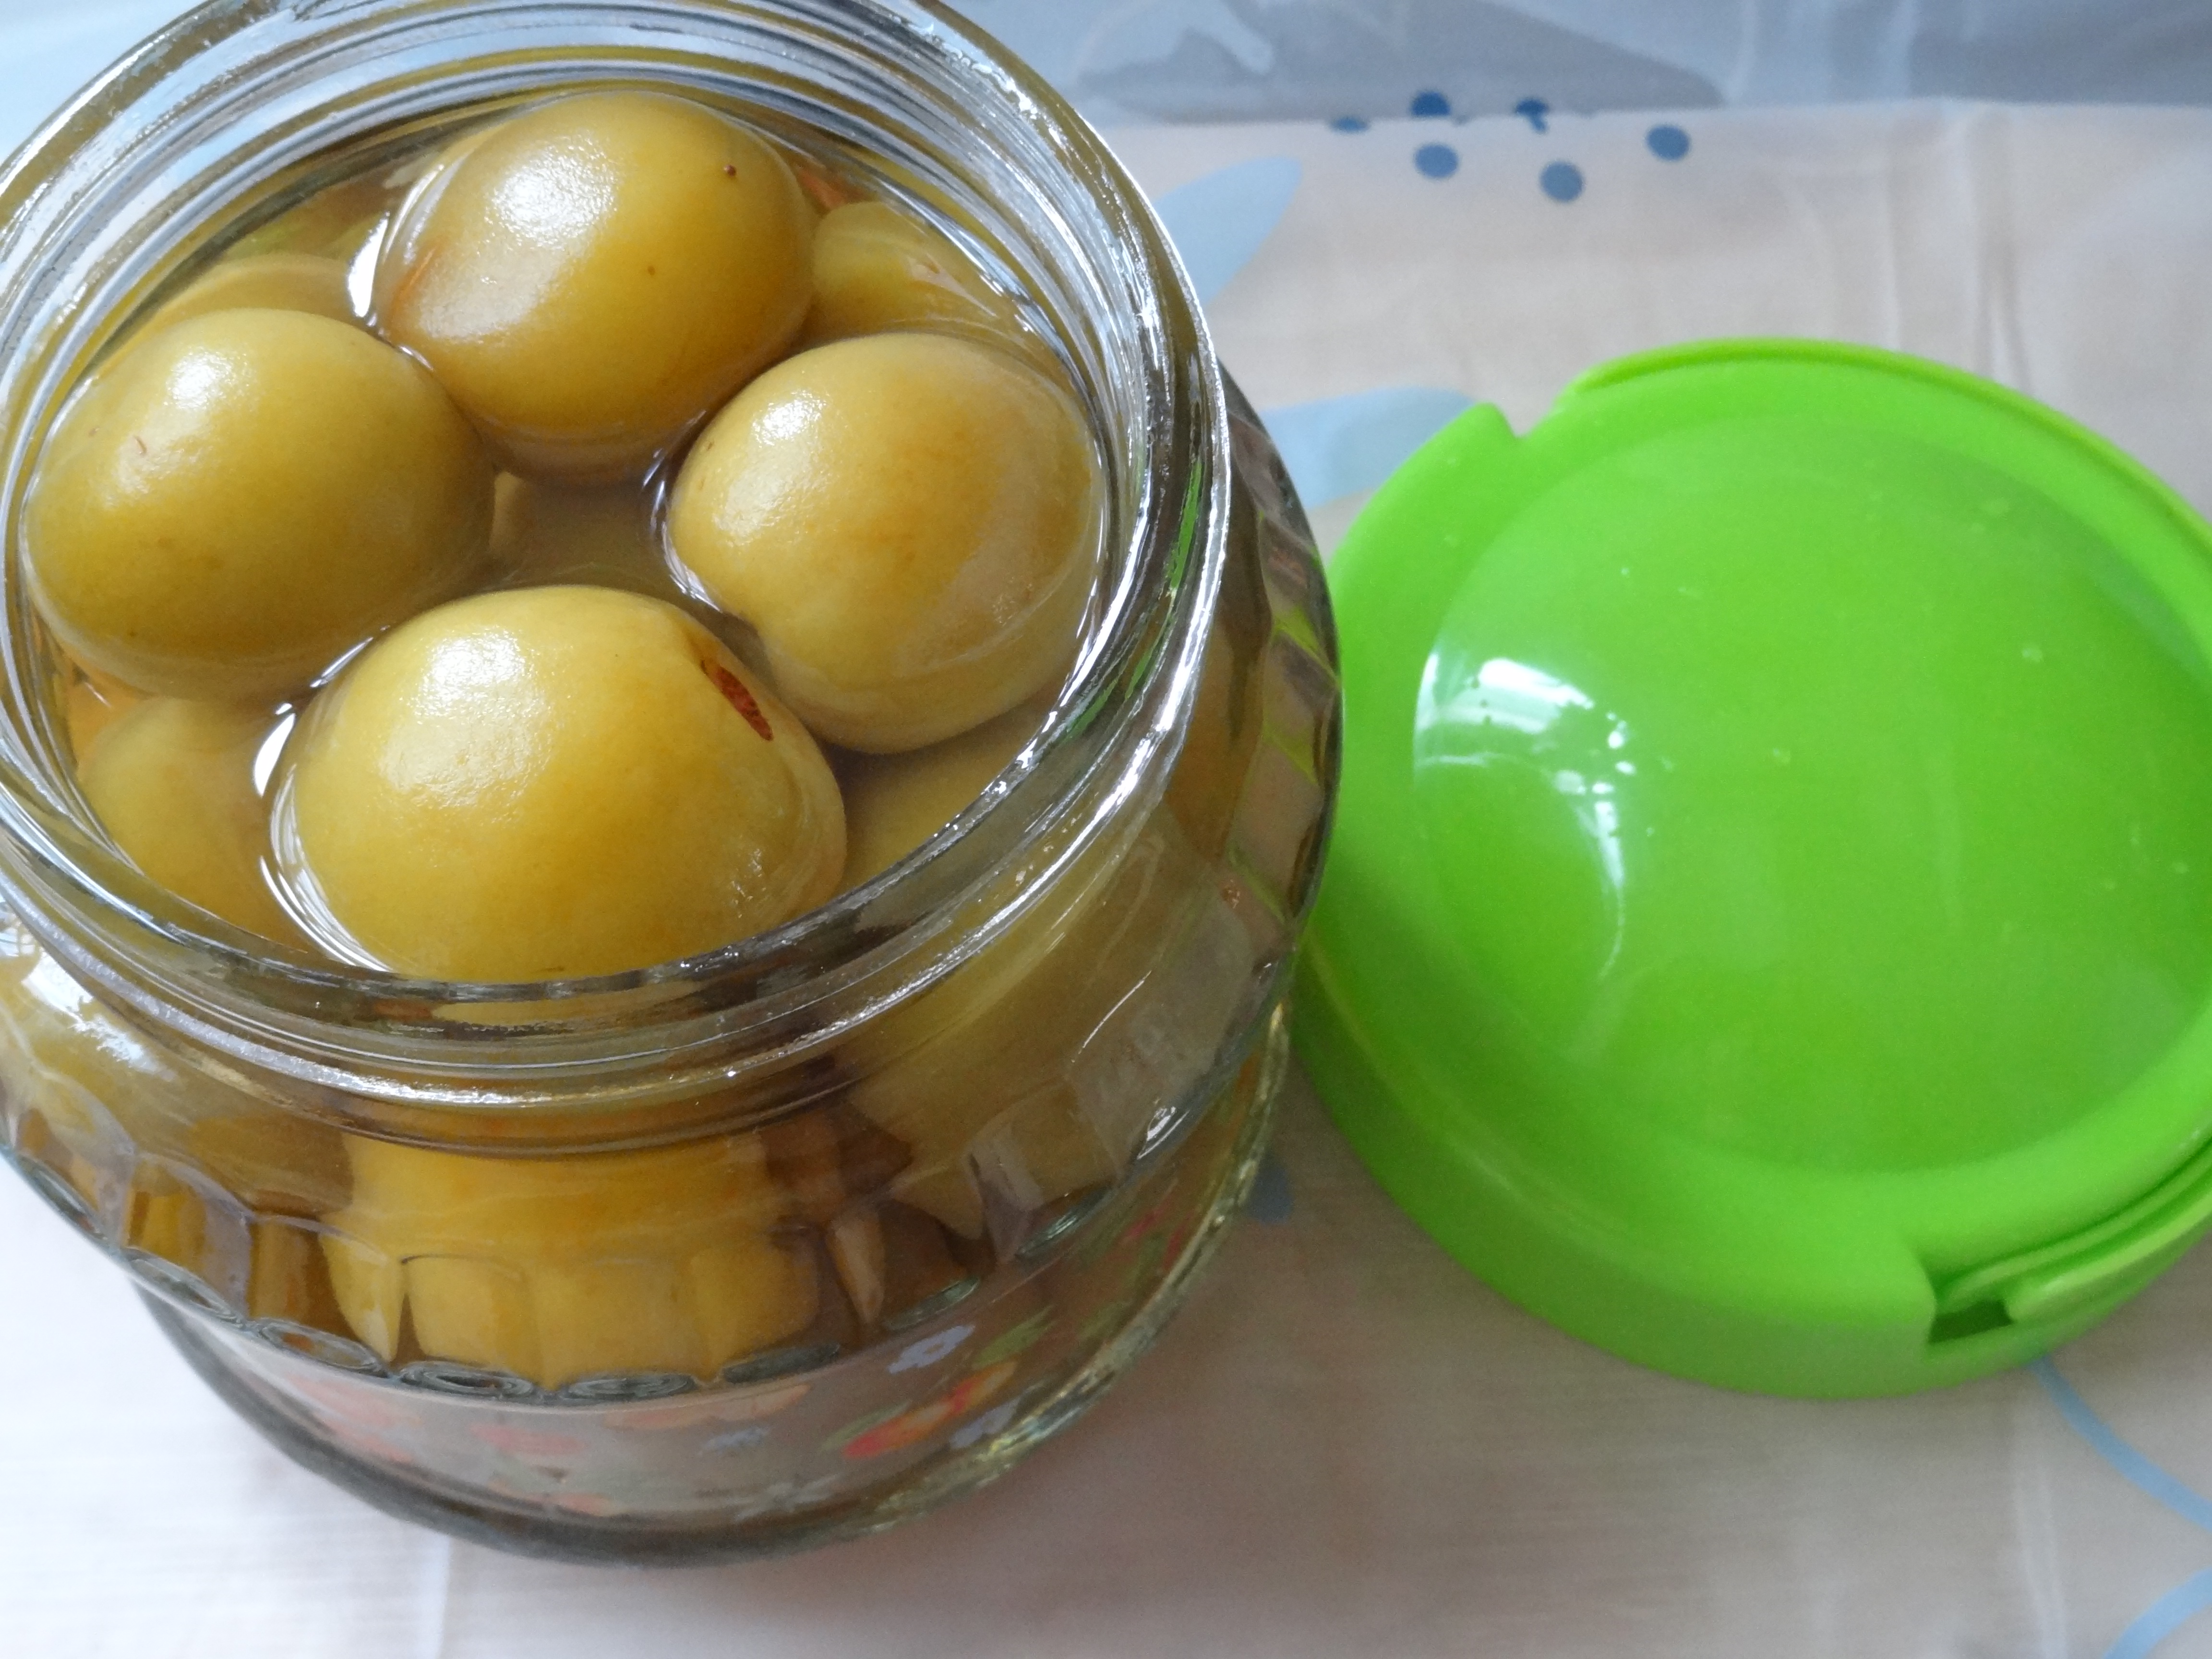
Why people make this
Fresh green plums arrive at markets in spring — a fleeting seasonal ingredient that Cantonese home cooks seize to pickle a jar of crispy plums. These pale-green, snappy morsels are a beloved traditional snack: sweet on the outside with a clean, fruity bite when made well. Nourilo shares his experience with characteristic candor — including his shortcut that led to bitterness inside the plums — because the lesson is genuinely useful: the salting-and-kneading step is the heart of the whole process, and patience there makes all the difference.
Members only
Unlock the full method & Nourilo's tips
One payment, lifetime access to every one of our 2,303 recipes — step-by-step methods, preparation tips and serving notes.
- Full step-by-step method for this and all 2,303 recipes
- Nourilo's Tips — sourcing, substitutions and serving notes
- One-time payment via PayPal · no subscription, no renewals
Checking your access…
$59.99 one-time · all recipes
Sign in or create a free account, then pay securely with PayPal.
Continue with Google$59.99 one-time · all recipes
Signed in as ·
Secure checkout by PayPal. Access is linked to your Nourilo account and never expires.
Comments
Join the conversation — sign in or create a free account to comment.
Continue with GoogleLoading comments…